Quality Control for Molds, Parts, and Prototypes
Quality Policy
Quest Industries is committed to continually improving its processes to produce a quality product, on-time delivery, and customer satisfaction.
Every employee is dedicated to teamwork, quality, continuous improvement and pleasing the customer. Our ISO 9001 registration ensures that all important aspects of your job and product are consistent.
Studies have shown that companies that utilize ISO 9001 as a quality and management tool have key performance measures in place that continually drive improvement. With the quality of our products assured by international standards, we can focus on customer service and delivery.
Inspection
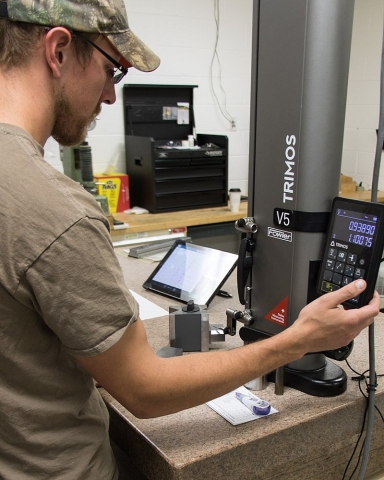
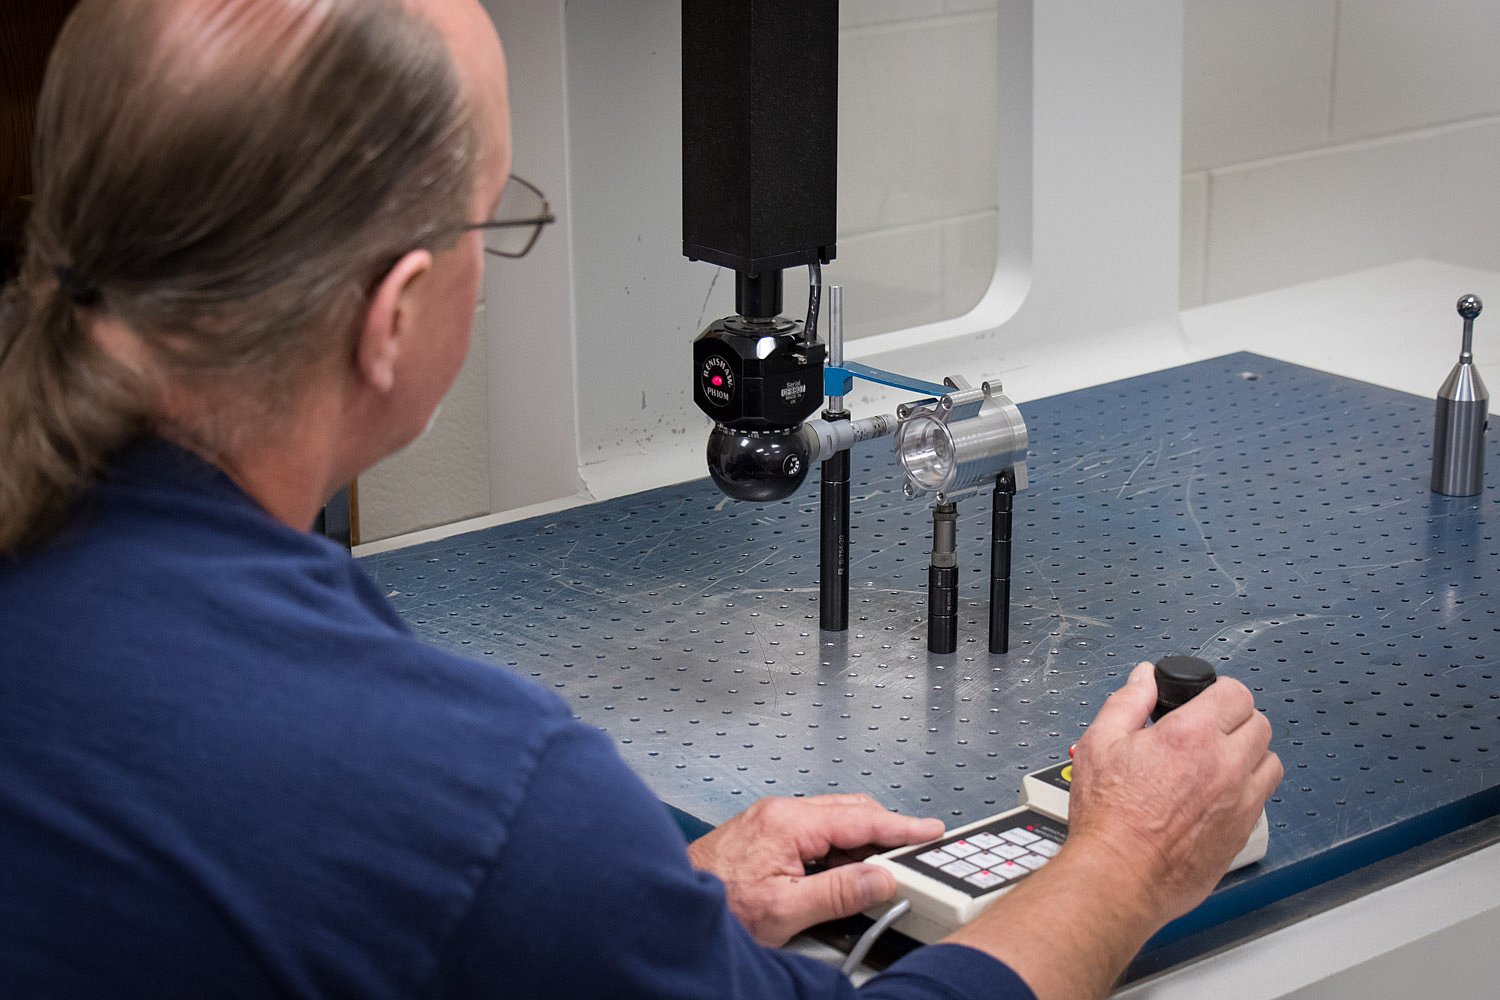
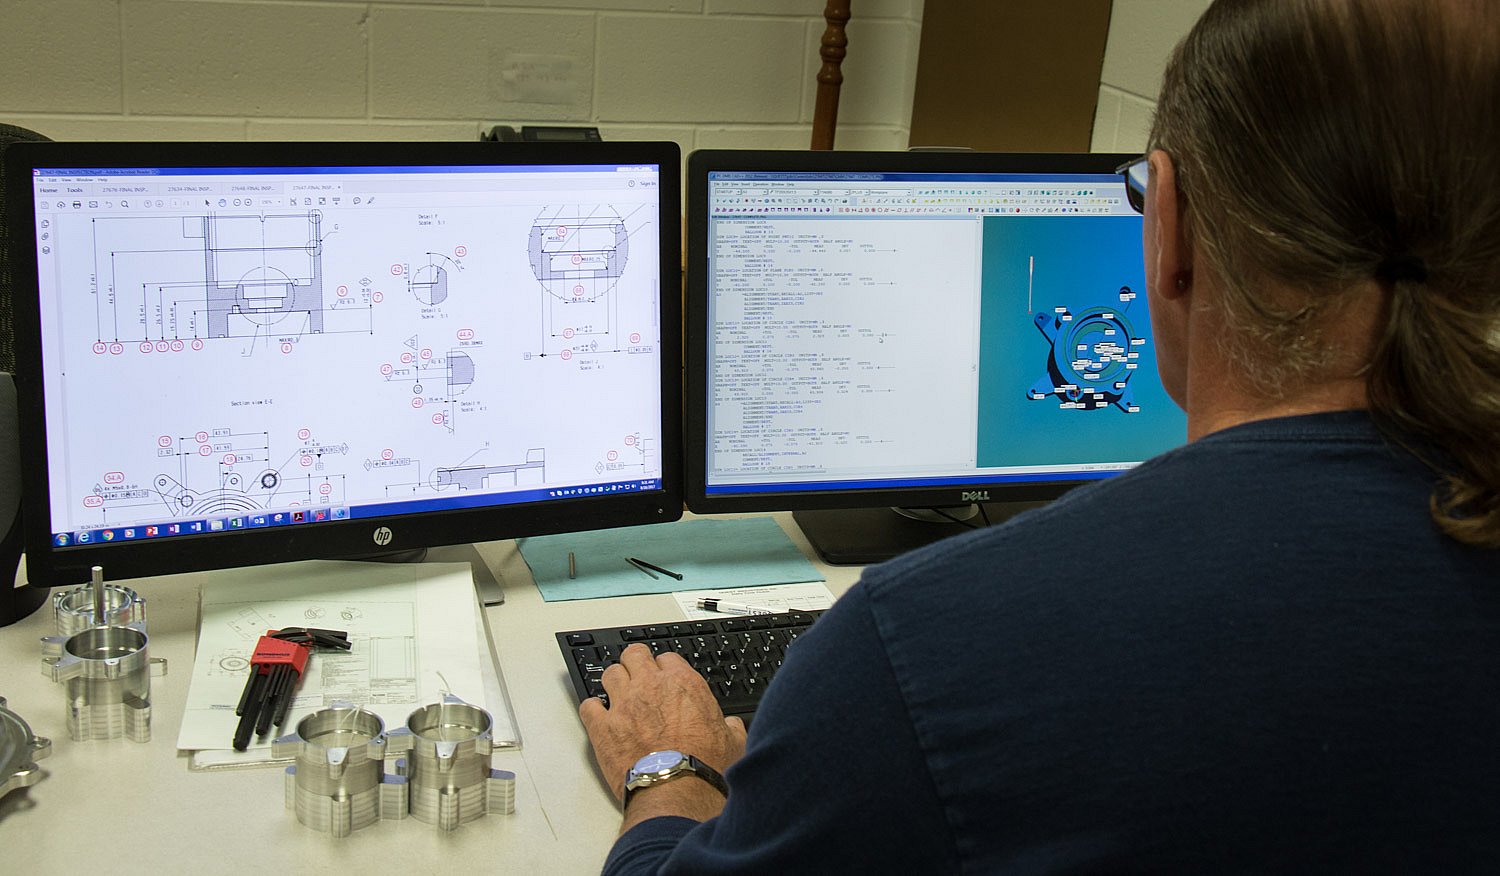
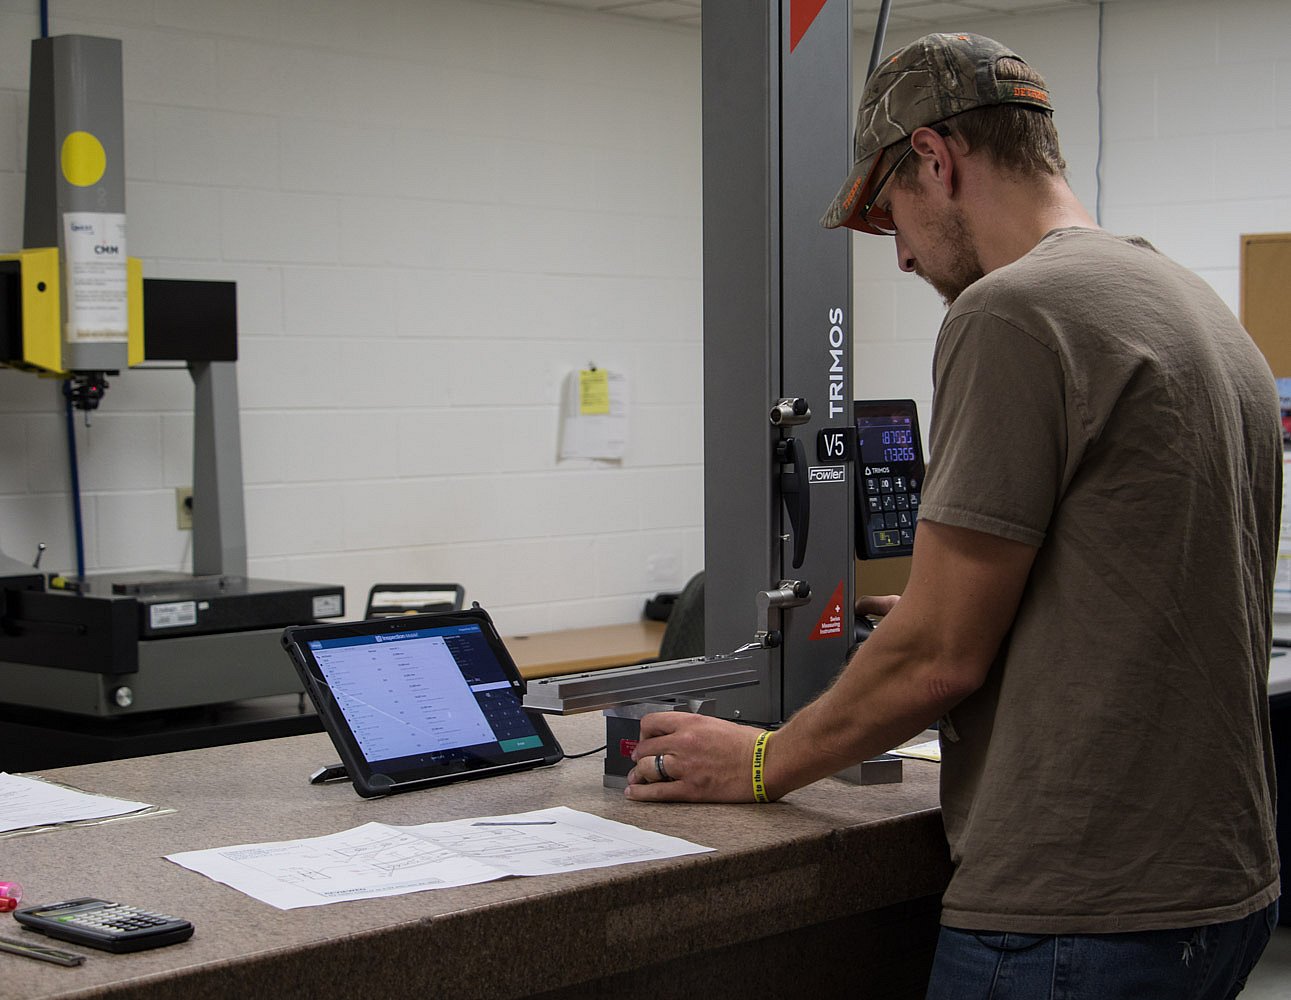
Our experienced inspection team will perform dimensional layout inspection of prototype and production parts. We routinely conduct gage R&R studies and capability studies to support the Production Part Approval Process (PPAP) for the automotive and aerospace industries.
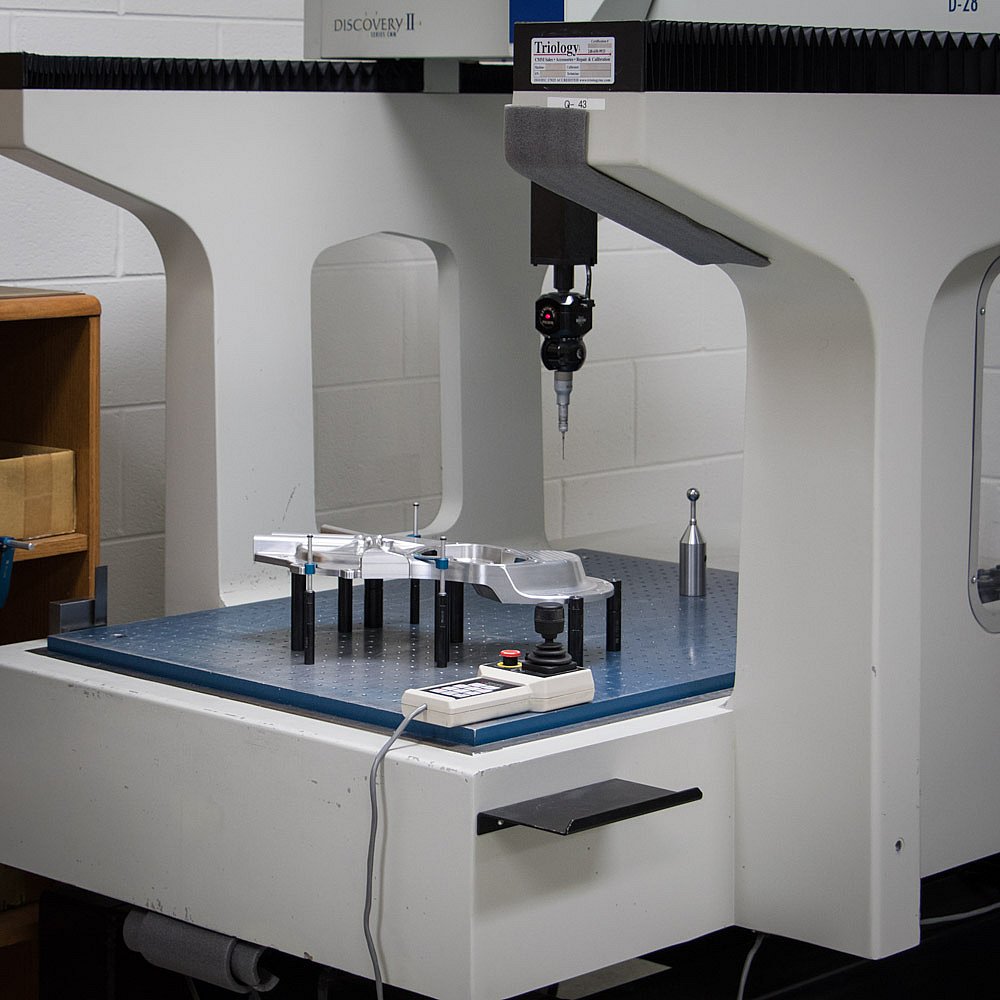
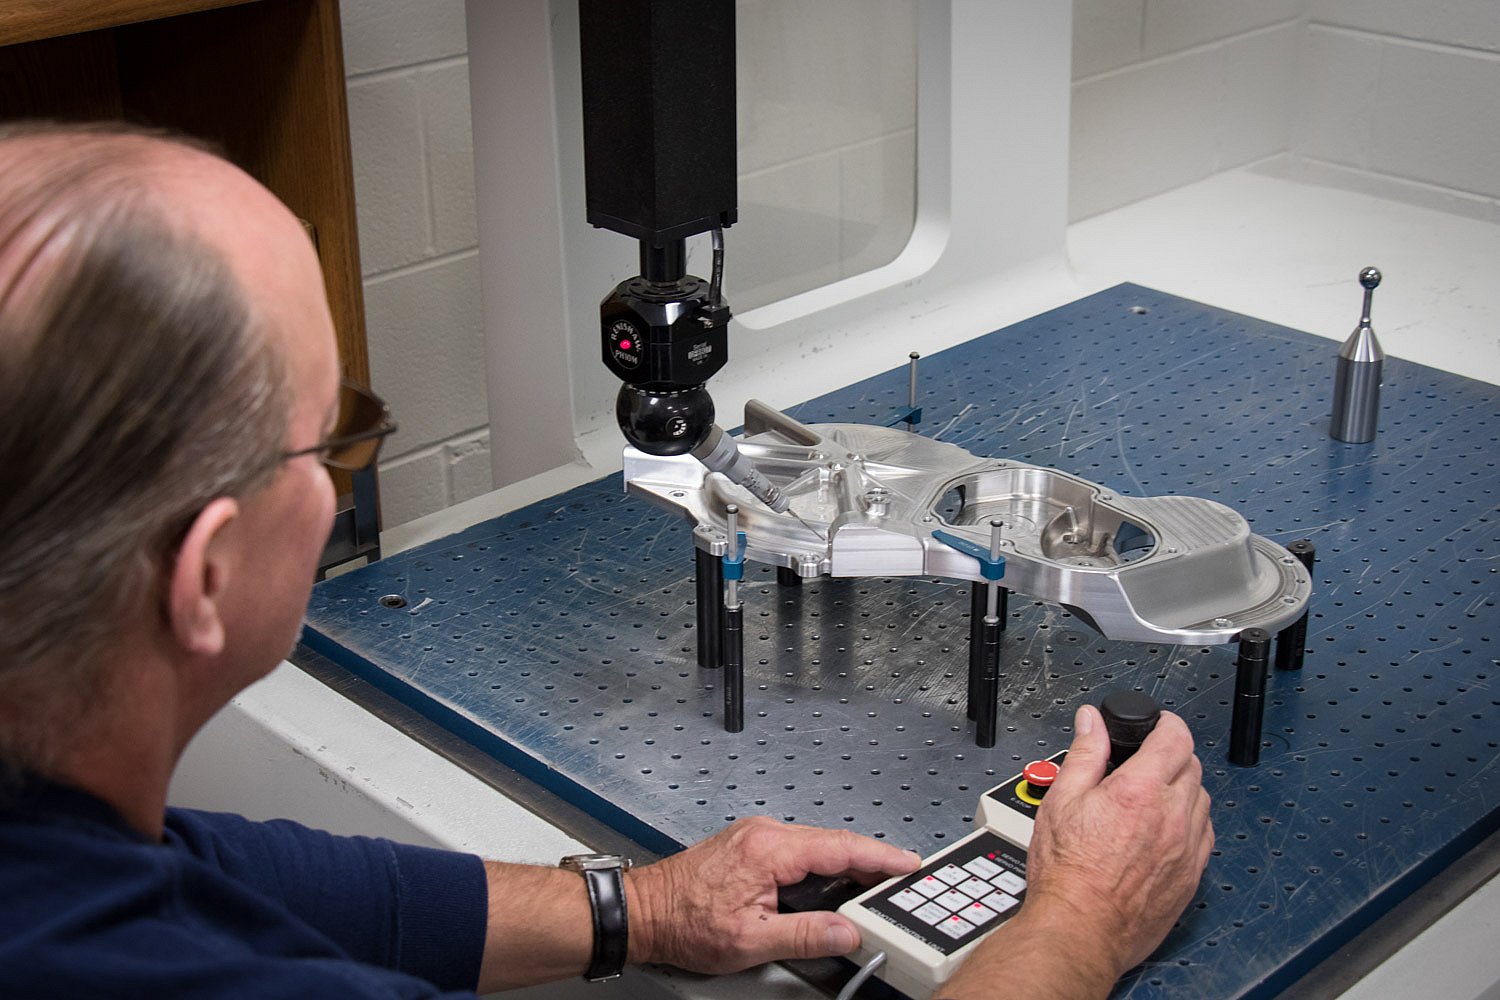
With 5-axis state-of-the-art measurement technology, Quest Industries can deliver exceptional measuring speed and flexibility, while avoiding the "speed versus accuracy" compromises inherent to conventional techniques.
We combine in-house and third-party resources with the latest advancements in measurement technology to ensure the highest quality. Machines are routinely laser-calibrated for accuracy and repeatability. Inspection equipment is calibrated annually, using NIST traceable reference gauges.
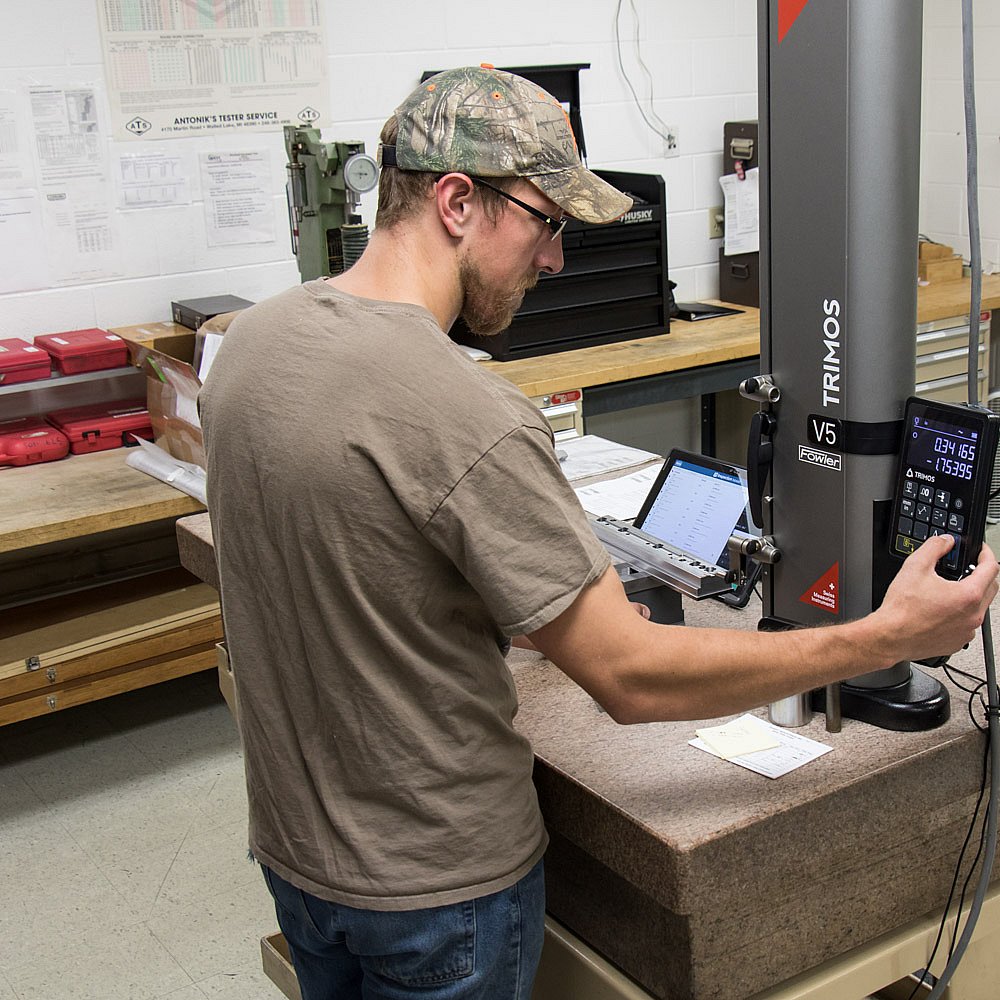
Our TESA Technology "Micro Hite" Plus 600 is the premier Swiss precision measuring instrument.
Working with Quest Industries is your assurance of producing quality parts with a minimum of variation. The real power in Quest Industries’ success has been developing a process for everything and everything is measured.
Unipoint Software
Unipoint software is used to create inspections (bubbling print) and mobile entry from the shop floor. Validation reports are permanently archived.
Unipoint is also used to schedule and log machine maintenance, tooling and gage calibrations to ANAB standards, traceable to NIST.
EQUIPMENT LIST
- Sheffield Cordax Discovery II 5-axis CMM, Model D28, 30" x 40" x 24" with PC/DMI's CaD++, Version 2012
- Hexagon Absolute Arm with PolyWorks Inspector – Tactile and Laser Scanning
- Brown & Sharpe Gage 2000, 3-Axis CMM with 18" x 20" travels
- Tesa "Micro Hite" plus 600 (Programmable with 24" of travel)
- Optical Comparator, Surface Illumination, Digital Readouts
- Readability of .0001, Perpendicularity of .0005 and resolution of .0001
- 2' x 5' Granite Surface Plate
- 3' x 5' Granite Surface Plate
- 18" x 24" Granite Surface Plate
- 22" x 30" Granite Surface Plate
- Hardness Tester
- Profilometer
- Climate Controlled Inspection Room
